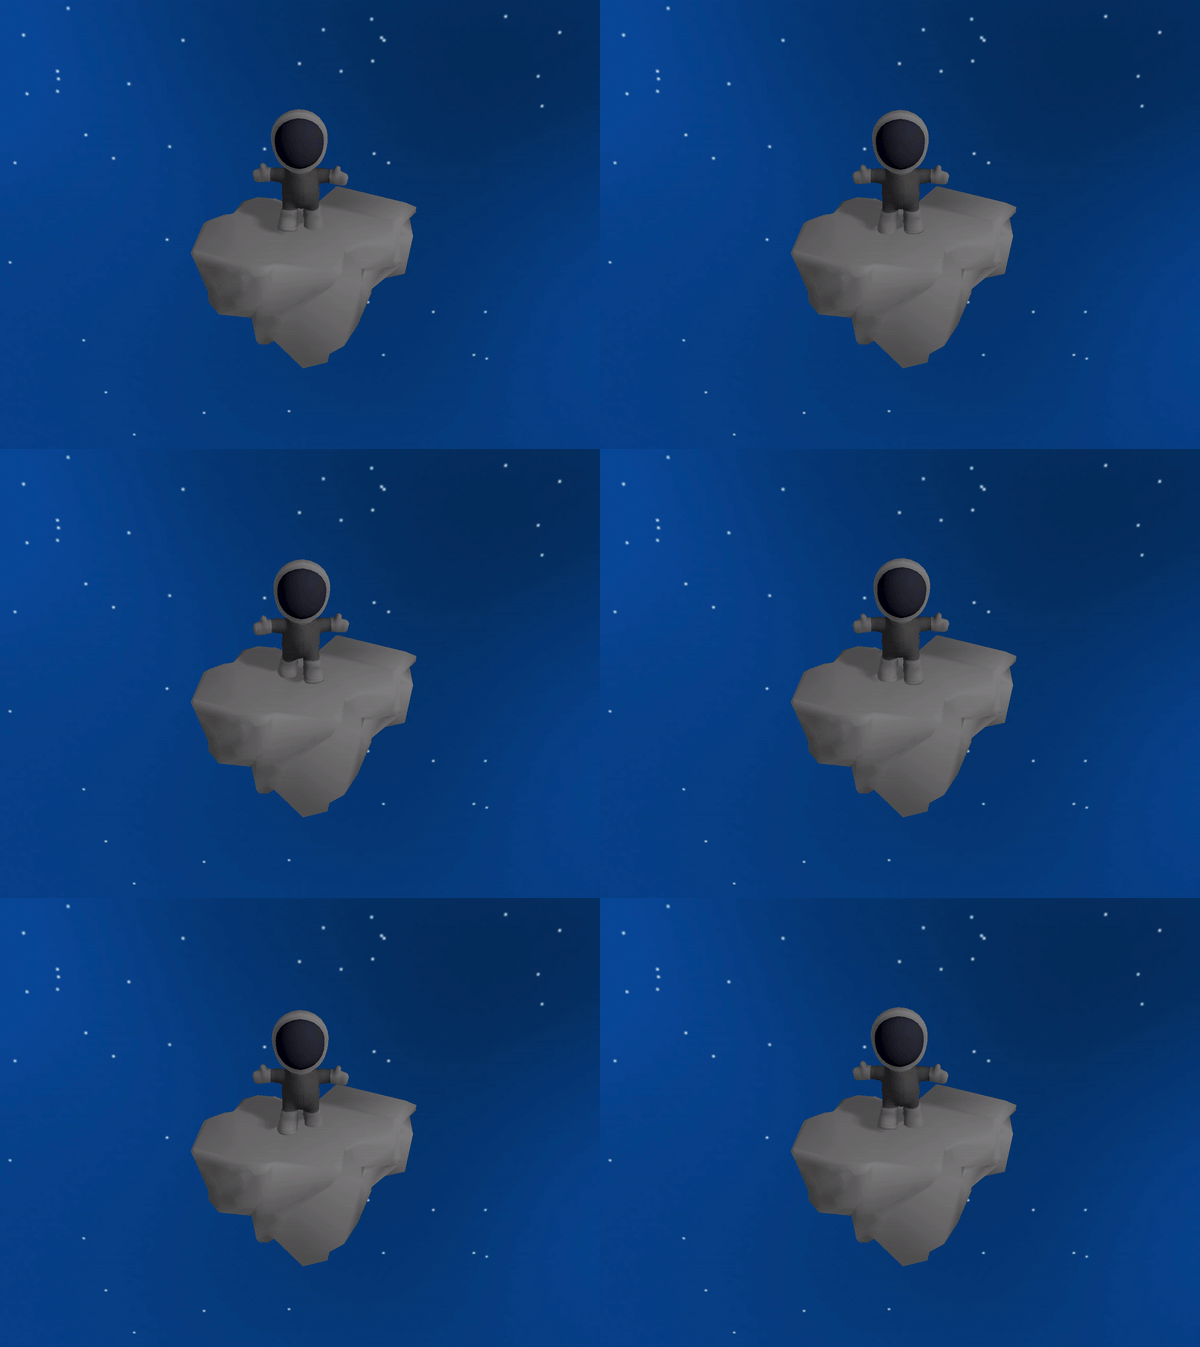
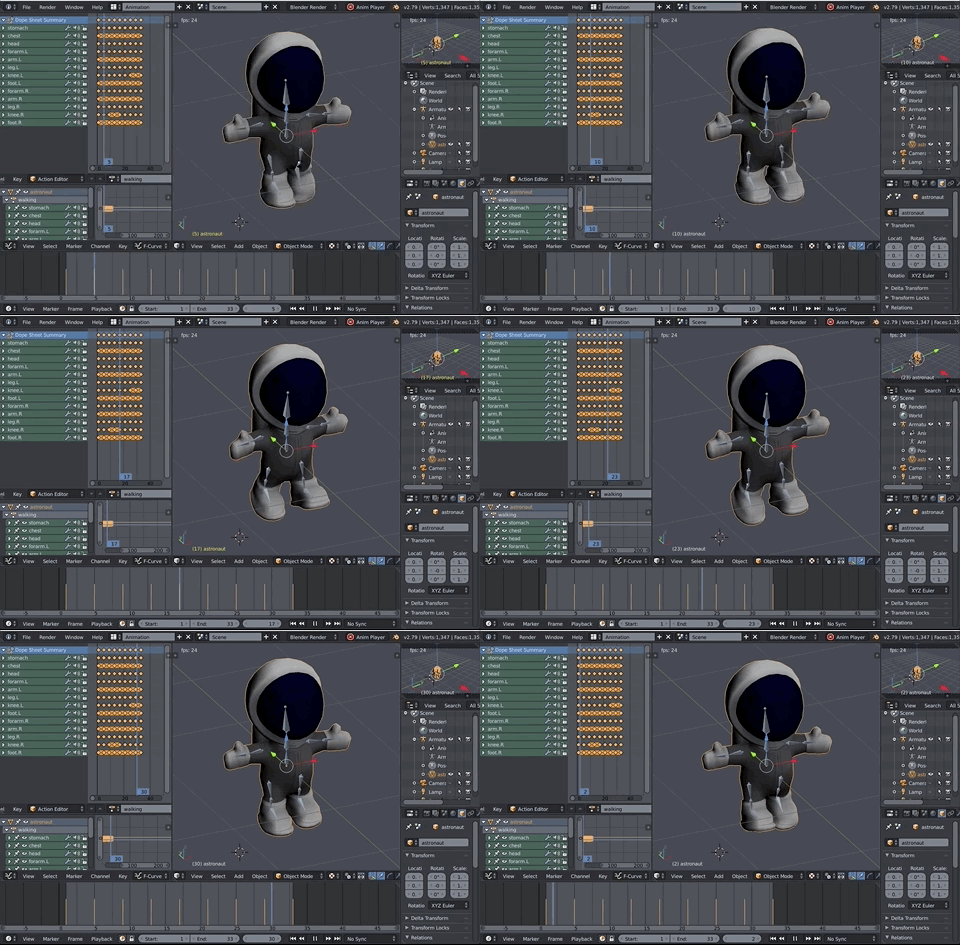
How to animate a 3D Object
Steps to create a 3D animation
The steps to create a 3D animation object are summarized below:
- Load animation data
- Create a 3D Animation object
- Link the animation object to the 3D model
- Play the animation

Step 1. Load Animation data
Before you can play a 3D animation, you must load the animation attributes. The loading is done through the use of U4DEngine::
Note: The Digital Asset Exporter exports 3D object data, such as animation, from Blender to a .xml file. However, before you can render an animation using the Untold Engine, you must convert it to a binary file (.u4d) using the Digital Asset Converter.
//Line 1. The U4DResourceLoader is in charge of loading the binary file containing the animation data
U4DEngine::U4DResourceLoader *resourceLoader=U4DEngine::U4DResourceLoader::sharedInstance();

//Line 1a.Load binary file with animation data
resourceLoader->loadAnimationData("astronautWalkAnim.u4d");
Step 2. Create an Animation Object
The next step is to represent the animation programmatically by creating an object of type U4DEngine::

This is shown in the snippet below:
//Line 2. Create an Animation object and link it to the 3D model
U4DEngine::U4DAnimation *walkAnimation=new U4DEngine::U4DAnimation(myAstronaut);
Step 3. Load animation data
Next, we load the animation keyframes, bone space and bone weights into the animation object using the method U4DEngine::
//Line 3. Load animation data into the animation object
if(myAstronaut->loadAnimationToModel(walkAnimation, "walking")){

    //If animation data was successfully loaded, you can set other parameters here. For now, we won't do this.

}
The loadAnimationToModel() method loads the animation data into the animation object (line 4).
The method requires the animation object, the name of the animation (specified in Blender) and the file that contains the animation data.
Note that the loadAnimationToModel() method returns a boolean value. The method will return false if the file was not found, or if the animation data is corrupted.
If the loadAnimationToModel() method returns true, you can set additional properties to the animation object. For example, you can set the animation to only play once or play continuously using the method U4DEngine::
Step 4. Play the animation
At this point, the animation object is linked to the 3D model, and we can play the animation using the method U4DEngine::
//Line 4. Check if the animation object exist and play the animation
if (walkAnimation!=nullptr) {

    walkAnimation->play();

}
To stop the animation, the U4DEngine::
//Check if the animation object exist and stop the animation
if (walkAnimation!=nullptr) {

    walkAnimation->stop();

}
Complete Code Snippet
The complete code snippet to add a 3D animation to a 3D character is shown below:
//Assume the character myAstronaut has already been created.

//Line 1. The U4DResourceLoader is in charge of loading the binary file containing the animation data
U4DEngine::U4DResourceLoader *resourceLoader=U4DEngine::U4DResourceLoader::sharedInstance();

//Line 1a.Load binary file with animation data
resourceLoader->loadAnimationData("astronautWalkAnim.u4d");

//Line 2. Create an Animation object and link it to the 3D model
U4DEngine::U4DAnimation *walkAnimation=new U4DEngine::U4DAnimation(myAstronaut);

//Line 3. Load animation data into the animation object
if(myAstronaut->loadAnimationToModel(walkAnimation, "walking")){

    //If animation data was successfully loaded, you can set other parameters here. For now, we won't do this.

}

//Line 4. Check if the animation object exist and play the animation
if (walkAnimation!=nullptr) {

    walkAnimation->play();

}