How to render sprites
The Untold Engine supports Sprites and Spritesheets. The Untold Engine represents a sprite as a U4DEngine::
Note: Please make sure to read the Untold Engine Toolchain before continuing on with this tutorial. All images must be converted to binary format (.u4d) using the Digital Asset Converter.
Preparing the Spritesheet
To render a sprite, the spritesheet is loaded into a U4DEngine::

The Untold Engine process the output of the Texture Packer, a spritesheet (.xml and .png files), to render a sprite.
I strongly recommend you get a copy of Texture Packer.
Creating the Spritesheet
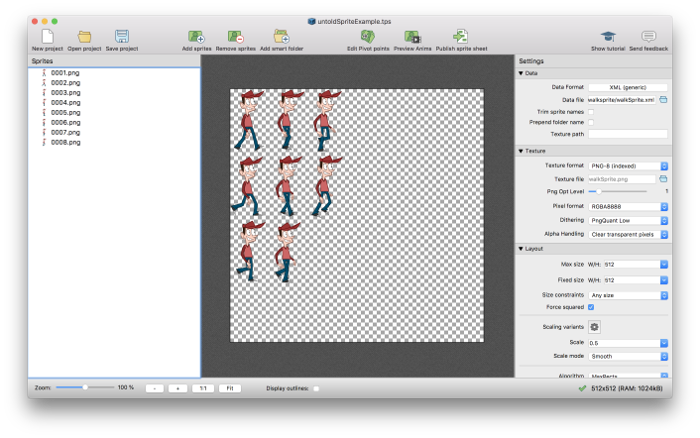
Open up Texture Packer and load the desired sprites onto it. In this example, I loaded several images representing Space Invader sprites.
Next, make sure to set the following settings as described below:
Output Files
- Framework: Select XML (Generic). The Untold Engine will use this .xml to properly render the sprite
- Data File: Make sure to store the .xml file into the Untold Engine's Resource Folder
- Texture File: Again, make sure to store the .png file into the Untold Engine's Resource Folder
Image Format
- Texture format: Select PNG-8 (indexed)
- Pixel format: RGBA8888
Create a Sprite Object
To render a sprite, you must first instantiate a U4DEngine::
Next, create an instance of a U4DEngine::
At this point, you are ready to select which sprite in the spritesheet to render. To do so, provide the name of the sprite you want to render (line 4). In this case, I want to render the sprite whose name is "spaceinvaderoctopus1.png".
Next, add the sprite to the scenegraph (line 5).
Since the demo has a skybox, I'm setting the z-depth in the addChild method to -2. The z-depth provides the rendering order.
Finally, I translate the sprite 0.5 units up (line 6). Recall that the coordinate system for 2D objects is different than for 3D objects. For 2D objects, the coordinate system ranges between [-1.0,1.0].
//Line 1. create a a sprite loader object
U4DEngine::U4DSpriteLoader *spriteLoader=new U4DEngine::U4DSpriteLoader();

//Line 2. load the sprite information into the loader
spriteLoader->loadSpritesAssetFile("spaceinvaderspritesheet.xml", "spaceinvaderspritesheet.png");

//Line 3. Create a sprite object
U4DEngine::U4DSprite *mySprite=new U4DEngine::U4DSprite(spriteLoader);

//Line 4. Set the sprite to render
mySprite->setSprite("spaceinvaderoctopus1.png");

//Line 5.Add it to the world
addChild(mySprite,-2);

//Line 6. translate the sprite
mySprite->translateTo(0.0,0.5,0.0);
Here is the result:
Tips
- To properly render the sprites, the spritesheet (.png) image needs to be flipped vertically as shown below. In this instance, I use Gimp to flip the .png file vertically.