How to render text
Creating a text object using the Untold Engine is easy. However, there is a bit of preparation needed. For example, you need to provide the Untold Engine the font type you intend to use. Once this information is available, you provide the text, and the engine will render your text on the desired location.
Preparing the Fonts
Before you can create a Text object, you must provide the desired Font Type to the Untold Engine. There is an excellent app that makes this process very simple. It is called Glyph Designer. The Untold Engine process the output from the Glyph Designer (.xml and .png files) and renders a text using the font type.
I strongly recommend you get a copy of Glyph Designer.
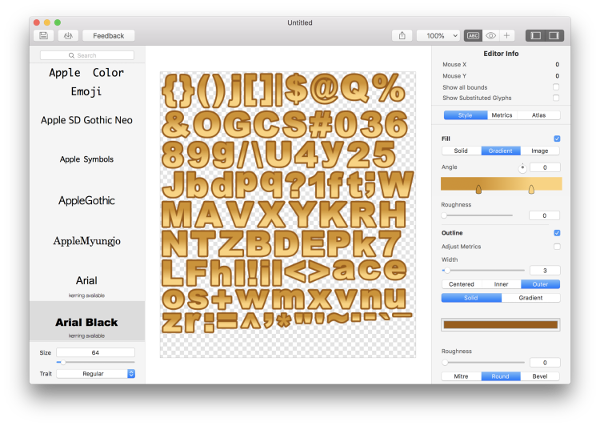
Creating the Font Files
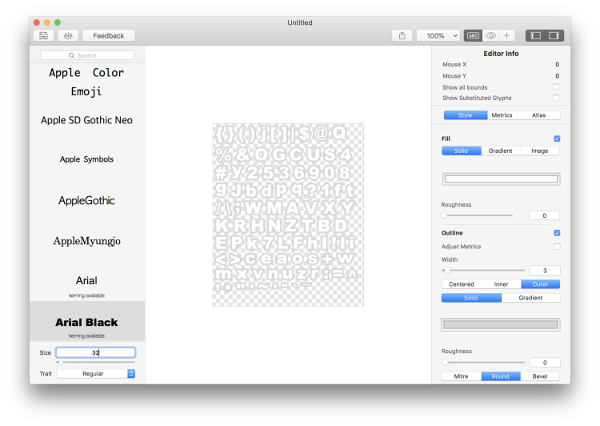
Open up Glyph Designer and select your desired font type, color, and size.
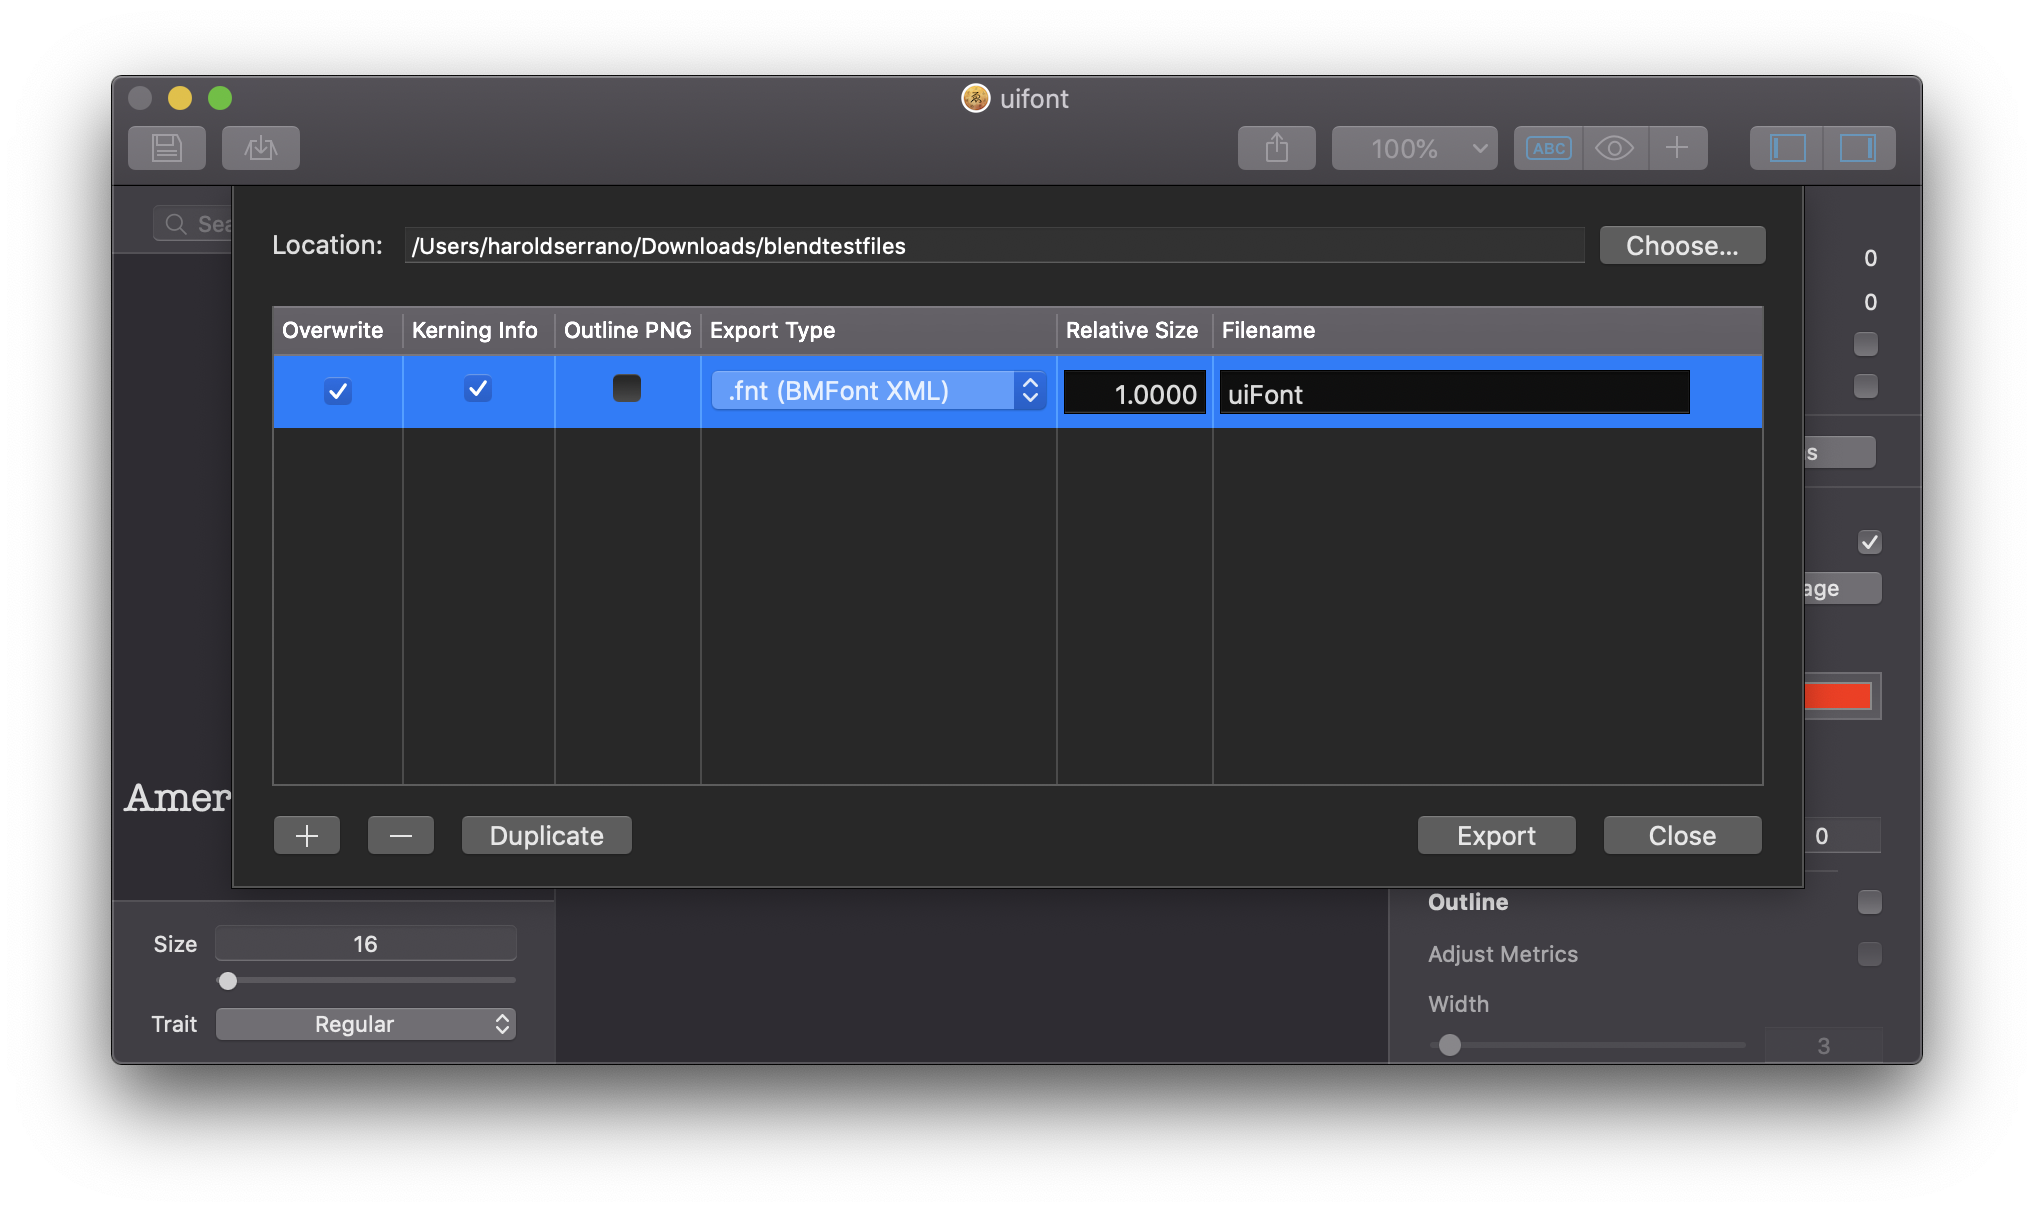
Once ready, export the files. Make sure the Export Type is .fnt (BMFont Text).
Give a name to the file. In this example, the name is "uiFont."
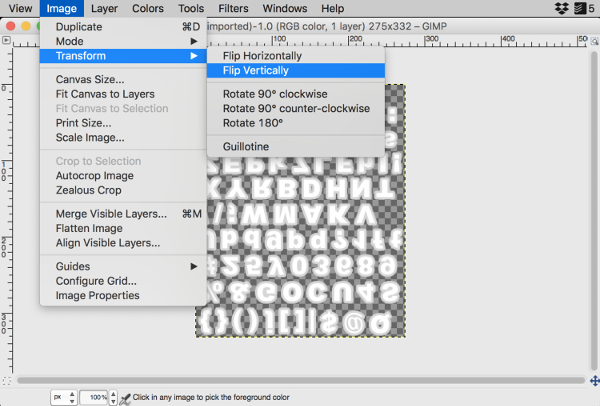
Flip the Font Atlas (.png) File
Before we can use the Font Atlas image file (.png), we need to flip the image vertically. You can do so with any image editor. In this instance, I use Gimp to flip the .png file vertically.
At this point, the font .fnt and .png files are ready to be converted into binary data using the Digital Asset Converter. Please read the Untold Engine Toolchain before continuing with the tutorial.
Note: Please make sure to read the Untold Engine Toolchain before continuing on with this tutorial. All images and .fnt files must be converted to binary format (.u4d) using the Digital Asset Converter.
Step 1. Create a Text Object
In the Untold Engine, a Text object is referred as a U4DEngine::
The snippet below shows how to create a U4DText object (line 3).
//1. The resource loader singleton will load all binary data into the engine
U4DEngine::U4DResourceLoader *resourceLoader=U4DEngine::U4DResourceLoader::sharedInstance();

//2. load font data. In this example, the font is used for the UIs.
resourceLoader->loadFontData("uiFont.u4d");

//3. Create a text object. Provide the name of the font.
U4DEngine::U4DText *myText=new U4DEngine::U4DText("uiFont");

//4. set the text you want to display
myText->setText("Hola Mundo");

//5. If desire, set the text position. Remember the coordinates for 2D objects, such as text is [-1.0,1.0]
myText->translateTo(0.25, 0.75, 0.0);

//6. Add the text to the scenegraph
addChild(myText,-2);
Once created, you can use the U4DEngine::
Note: Since the demo has a skybox, I'm setting the z-depth in the addChild method to -2. The z-depth provides the rendering order.
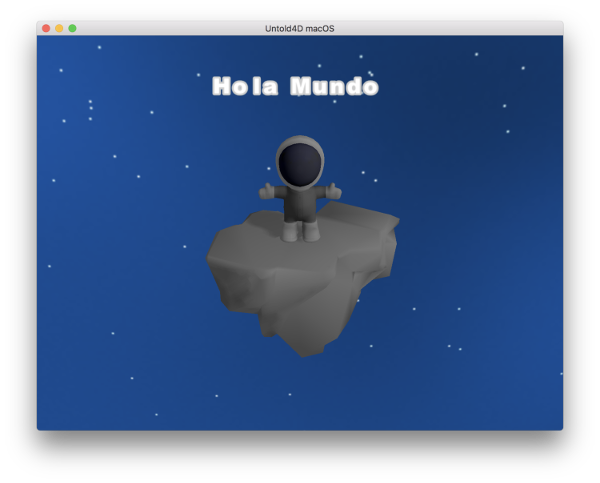
Result
Tips
- To properly render text, the font atlas (.png) image needs to be flipped vertically as shown below. In this instance, I use Gimp to flip the .png file vertically.
