Archviz To Vision Pro
This learning path takes an architectural visualization scene from Blender and turns it into a Vision Pro app with Untold Engine.
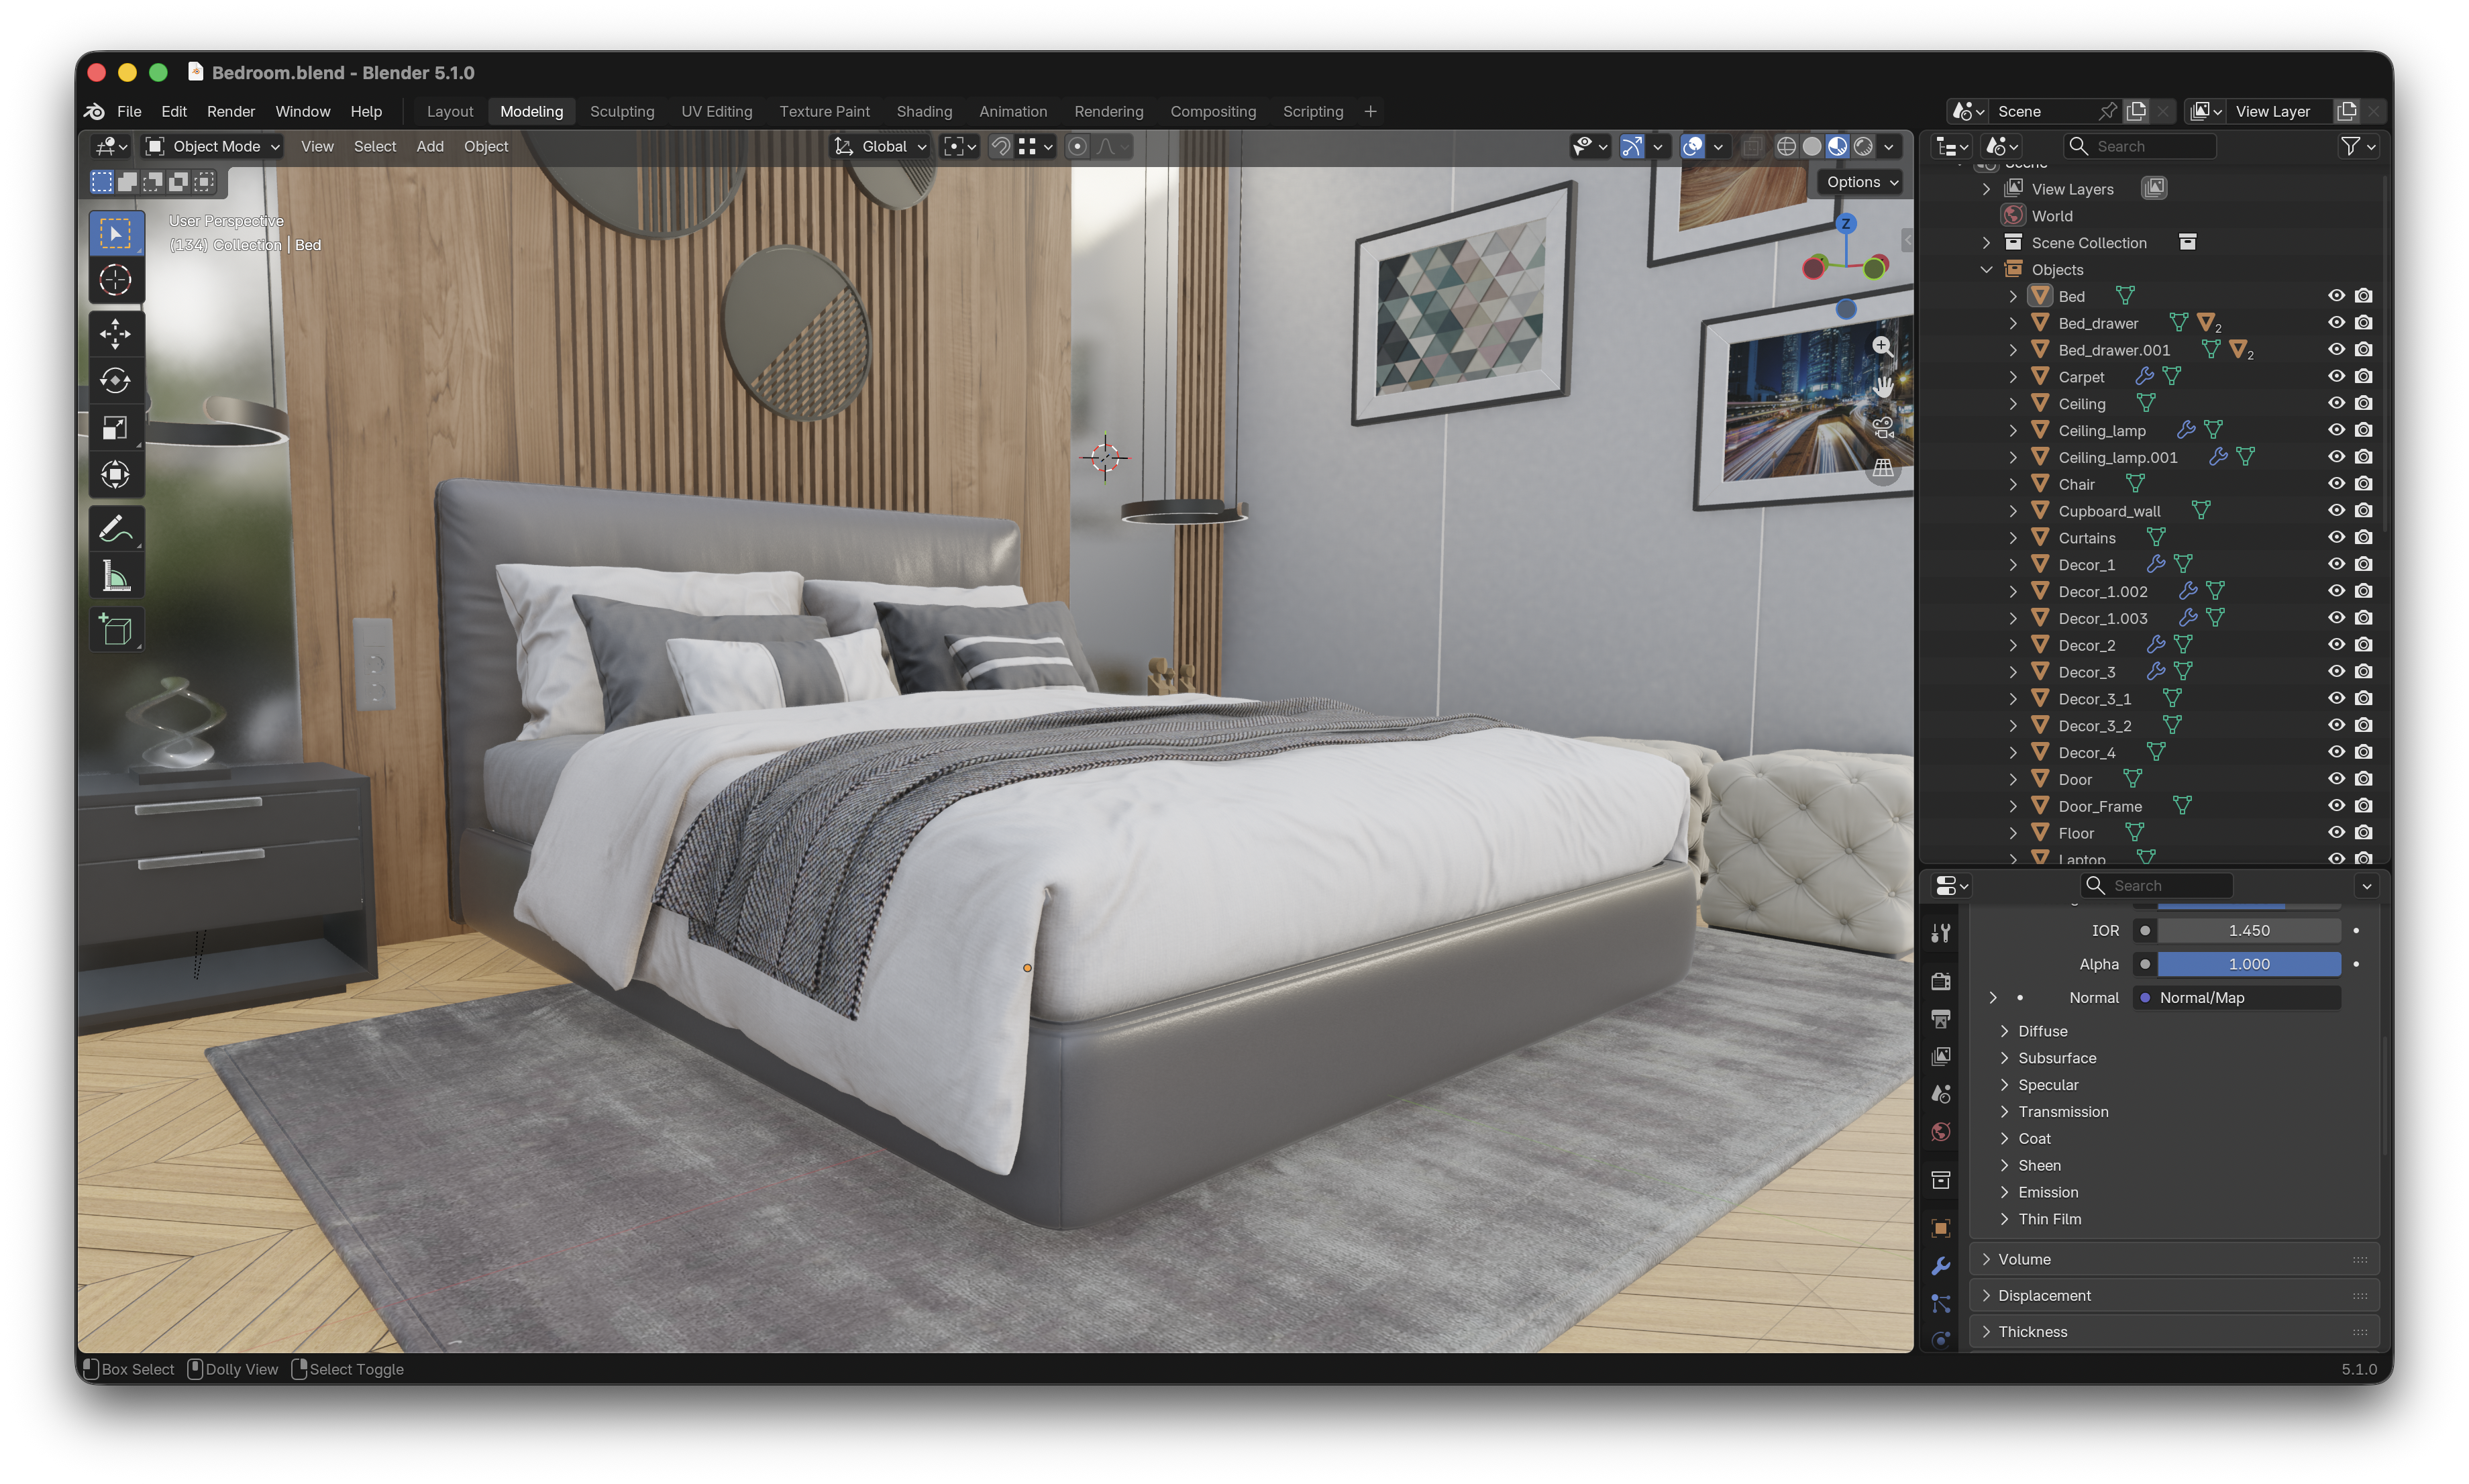
You will start with this archviz model in Blender:
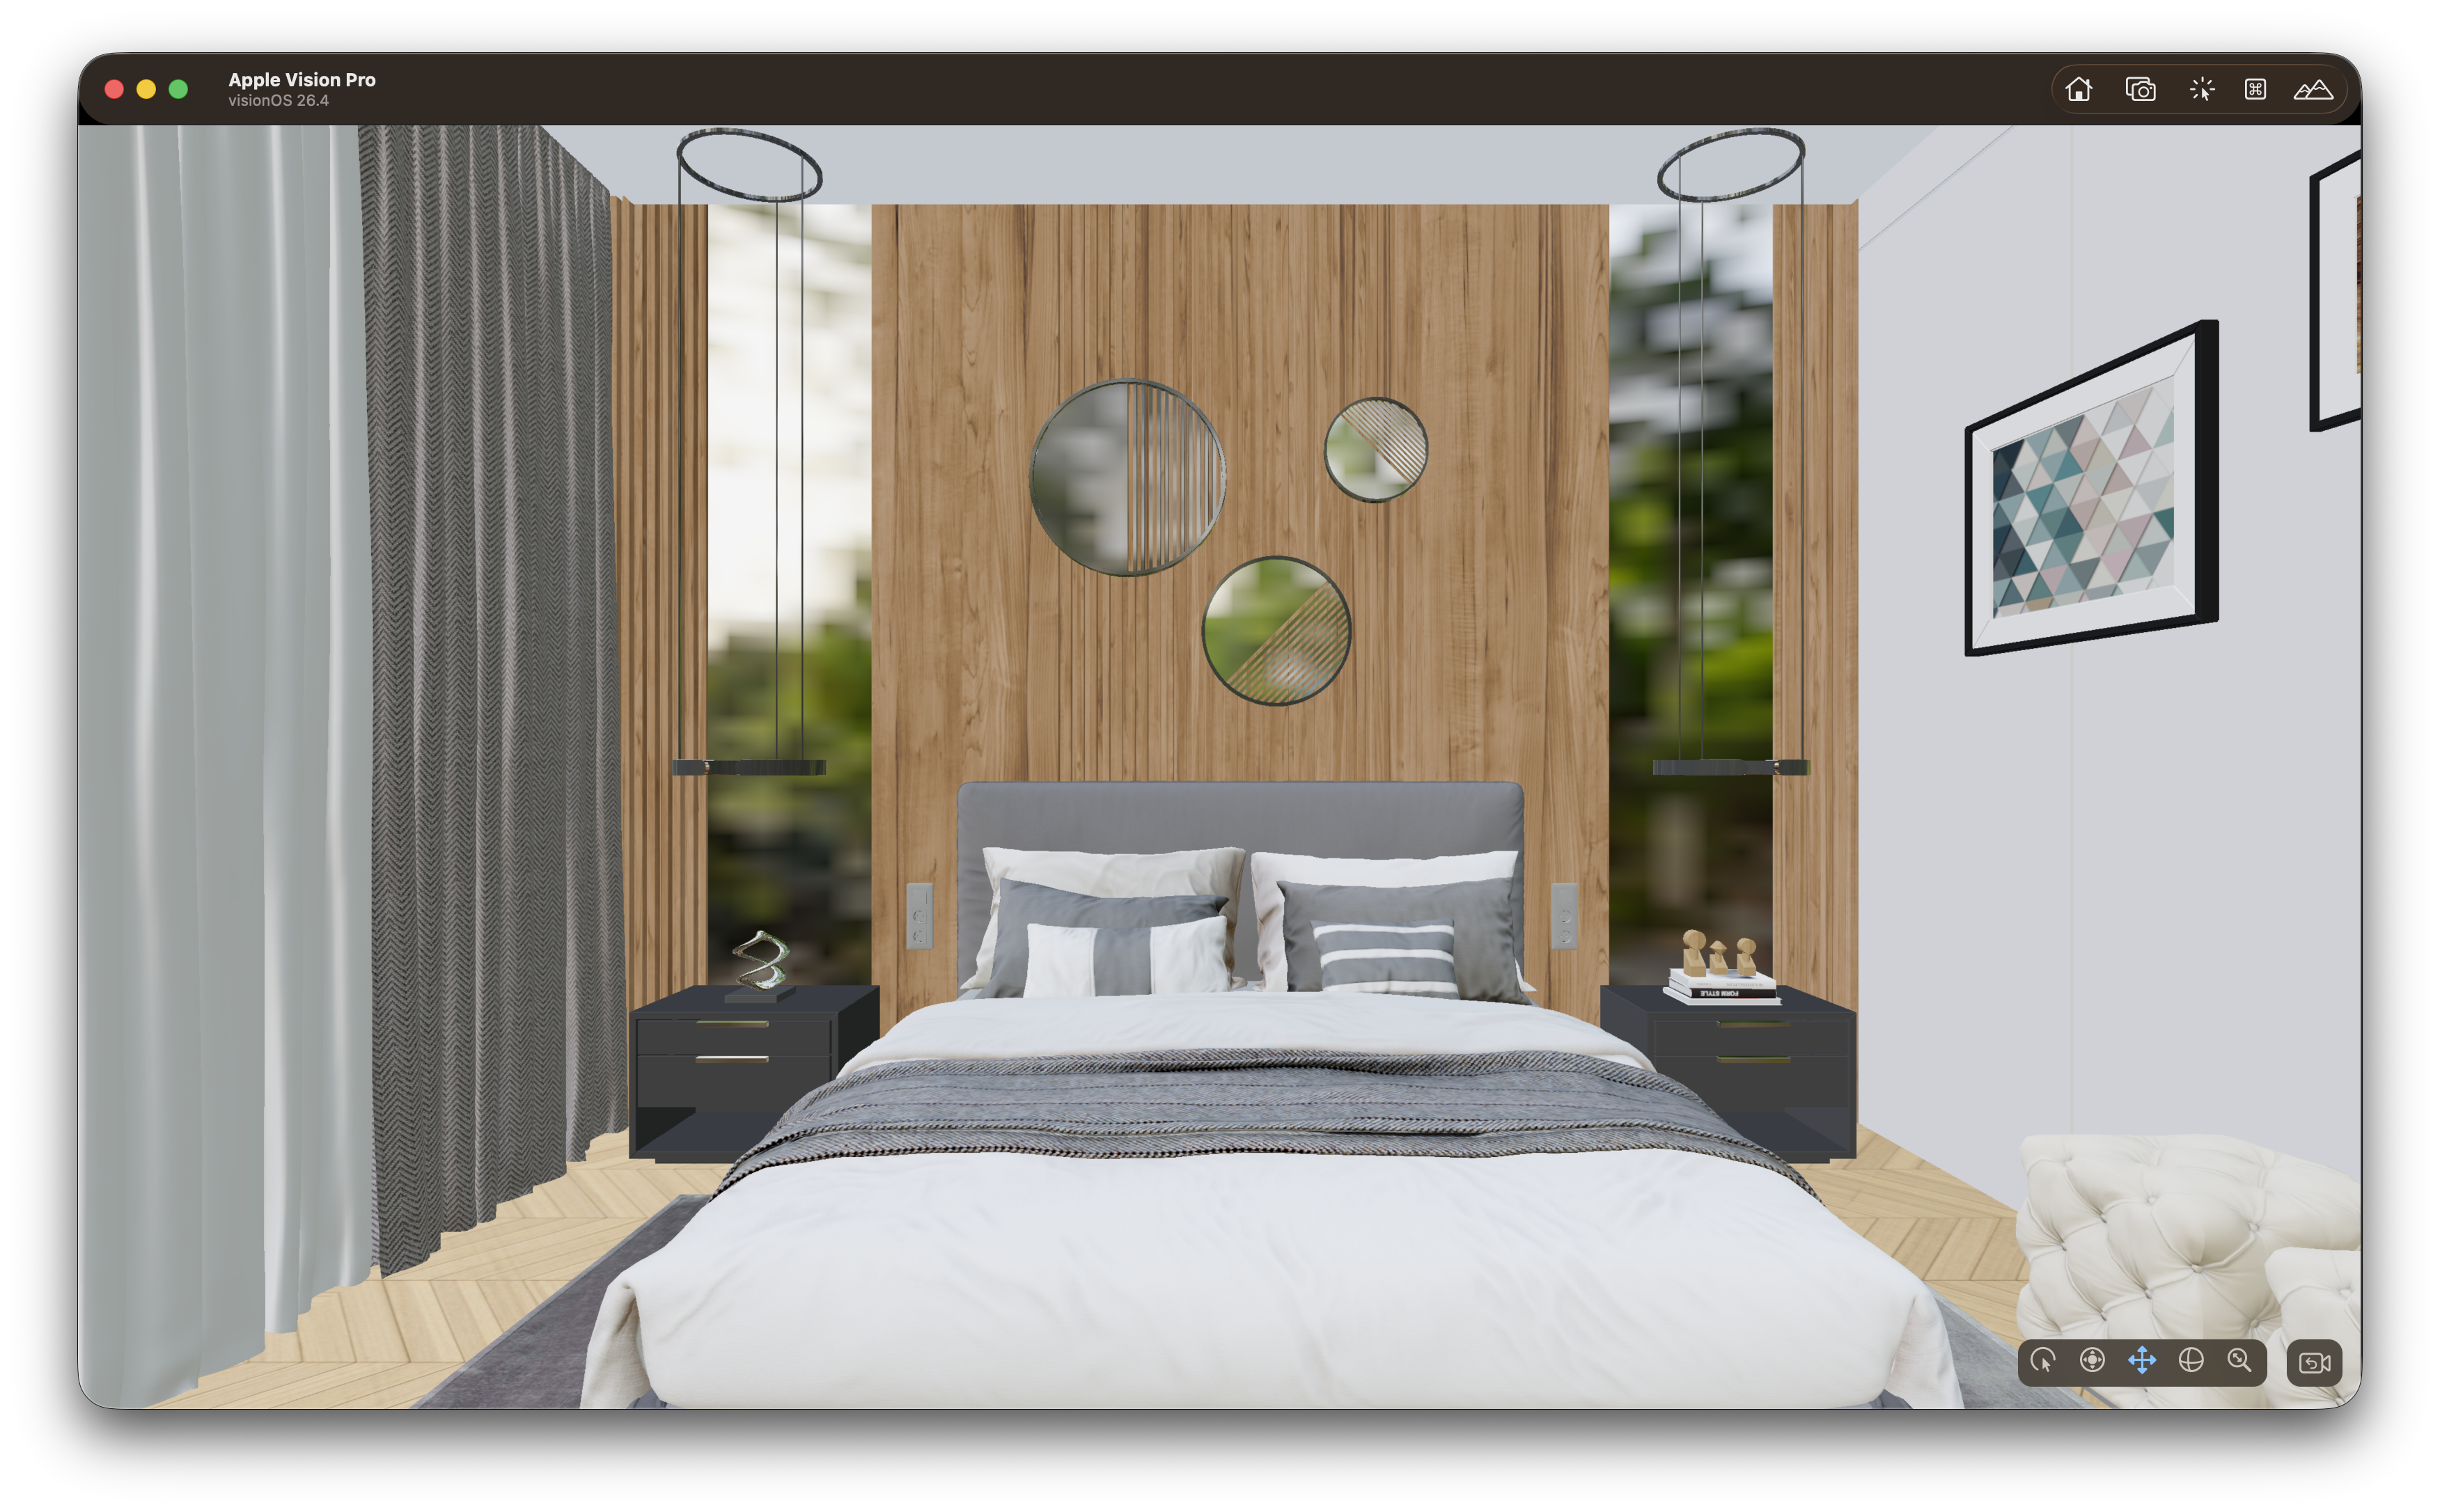
Then you will load the exported scene on Apple Vision Pro:
By the end of the path, you will have:
- A standalone visionOS Xcode project.
- An archviz
.untoldasset inside the project'sGameDatafolder. - A scene that loads the model asynchronously.
- Blender-authored scene data such as lights, cameras, and color management loaded at runtime.
- Vision Pro input configured so the user can move and rotate the scene root with spatial gestures.
What You Will Build
The goal is a simple but complete archviz viewer:
- Create a new visionOS project with the Untold Engine CLI.
- Install the starter archviz asset pack.
- Load the
Bedroom.untoldmodel inGameScene.swift. - Configure rendering and XR input.
- Use spatial manipulation so the scene can be moved and rotated in mixed reality.
- Build and run on Apple Vision Pro or the Vision Pro Simulator.
This path uses the starter archviz asset so you can focus on the engine workflow first. After this is working, you can replace the starter asset with your own Blender export.
Want to run it right away instead of building it step by step? The finished project, ArchvizViewer, is in the UntoldArcade demo collection: github.com/untoldengine/UntoldArcade/tree/main/ArchvizViewer. Clone it, open the Xcode project, and run.
Prerequisites
You need:
- Xcode with visionOS support.
- A local Untold Engine checkout.
- The
untoldengineCLI installed from the repository. - An Apple Vision Pro device or the Vision Pro Simulator.
Clone the engine and use a stable release:
Install the CLI:
Verify the command is available:
Create The Vision Pro Project
Create a standalone Xcode project:
cd ~/Projects
untoldengine create ArchvizViewer --platform visionos
open ArchvizViewer/ArchvizViewer.xcodeproj
The generated project already depends on the correct engine products for visionOS:
UntoldEngineXRUntoldEngineAR
The project also includes a bundled GameData folder. Runtime assets should live there.
ArchvizViewer/
  Sources/
    ArchvizViewer/
      GameScene.swift
      GameData/
        Models/
        StreamModels/
        Textures/
        Scenes/
        Scripts/
Install The Starter Archviz Asset
From the generated project folder, install the starter asset pack:
The CLI finds the project's GameData folder and merges the asset files into it.
The important file for this path is the Bedroom.untold model. The generated project should now contain the model and its supporting textures and resources under GameData.
Open GameScene.swift
In Xcode, open:
This is where the generated project sets up the engine scene. The two important places are:
init()for one-time scene setup and asset loading.configureEngineSystems()for rendering, input, and runtime settings.
Load The Archviz Model
In init(), after configureEngineSystems(), create an entity and load the archviz model with setEntityMeshAsync.
This walkthrough's
Bedroomis a single-model export (Bedroom.untold), which is whatloadSceneAuthoredcan bring scene-authored lights/cameras in from. A.blendscene with more than one independent model exports as a.untoldpackinstead, andloadSceneAuthoredhas no effect on those — see Using the Untold Engine CLI.
let entity = createEntity()
setEntityName(entityId: entity, name: "Bedroom")

setEntityMeshAsync(entityId: entity, filename: "Bedroom", withExtension: "untold") { success in
    guard success else {
        setSceneReady(false)
        return
    }

    loadSceneAuthored(filename: "Bedroom", withExtension: "untold")

    setRendering(.environment(.ibl(true)))
    setRendering(.environment(.asset("forest.exr")))
    setRendering(.environment(.intensity(0.9)))
    setRendering(.environment(.visible(true)))

    setSceneReady(true)
}
What this does:
createEntity()creates the root entity for the archviz model.setEntityName(...)gives the entity a stable runtime name.setEntityMeshAsync(...)loads the.untoldmodel without blocking the app.loadSceneAuthored(...)loads Blender-authored lights, cameras, and color-management data from the asset.setSceneReady(true)tells the rest of the app that the scene can now respond to input.
setEntityMeshAsync looks for the asset by name in GameData, so the filename is "Bedroom" and the extension is "untold".
Configure Rendering And XR Input
In configureEngineSystems(), enable game mode, register XR input, and configure the rendering defaults:
private func configureEngineSystems() {
    gameMode = true

    registerXREvents()
    setInput(.xr(.pickingBackend(.octreeGPUPreferred)))
    setInput(.xr(.twoHandRotateAxisMode(.dynamicSnapped)))
    setInput(.xr(.sceneReady(true)))

    setRendering(.postProcessing(.enabled))
    setRendering(.antiAliasing(.msaa))
    setPostFX(.ssao(.enabled(false)))

    TextureStreamingSystem.shared.apply(.superdetailed)
}
The important calls are:
registerXREvents()enables Vision Pro gesture input.setInput(.xr(.pickingBackend(.octreeGPUPreferred)))asks the engine to use the GPU-preferred spatial picking path.setInput(.xr(.twoHandRotateAxisMode(.dynamicSnapped)))configures two-hand scene rotation behavior.setRendering(...)andsetPostFX(...)configure the render path.TextureStreamingSystem.shared.apply(.superdetailed)asks the texture system to use high-detail texture settings.
Add Spatial Manipulation
In the generated input handling function, use the spatial manipulation system to move and rotate the scene root.
func handleInput() {
    if gameMode == false { return }
    if isSceneReady() == false { return }

    let state = getXRSpatialInputState()

    SpatialManipulationSystem.shared.processAnchoredSceneManipulationLifecycle(
        from: state,
        dragSensitivity: 10.0,
        rotateSensitivity: 1.0
    )
}
This lets the user:
- Pinch and drag to move the scene.
- Use two hands to rotate the scene.
The scene-readiness check matters because spatial input should not manipulate the scene before the model has finished loading.
Build And Run
In Xcode:
- Select the Vision Pro Simulator or a connected Apple Vision Pro.
- Build and run.
- Start the experience.
- Confirm the archviz scene appears.
- Pinch and drag to move the scene.
- Use two hands to rotate the scene.
Replace The Starter Asset With Your Own Blender Scene
Once the starter asset works, the next step is to export your own Blender archviz model.
At a high level:
- Prepare the model in Blender.
- Export it to
.untoldwith the Blender add-on or CLI exporter. - Place the exported asset under the project's
GameDatafolder. - Update the filename passed to
setEntityMeshAsync.
For example, if your exported model is ModernHouse.untold, load it like this:
setEntityMeshAsync(entityId: entity, filename: "ModernHouse", withExtension: "untold") { success in
    guard success else {
        setSceneReady(false)
        return
    }

    loadSceneAuthored(filename: "ModernHouse", withExtension: "untold")
    setSceneReady(true)
}